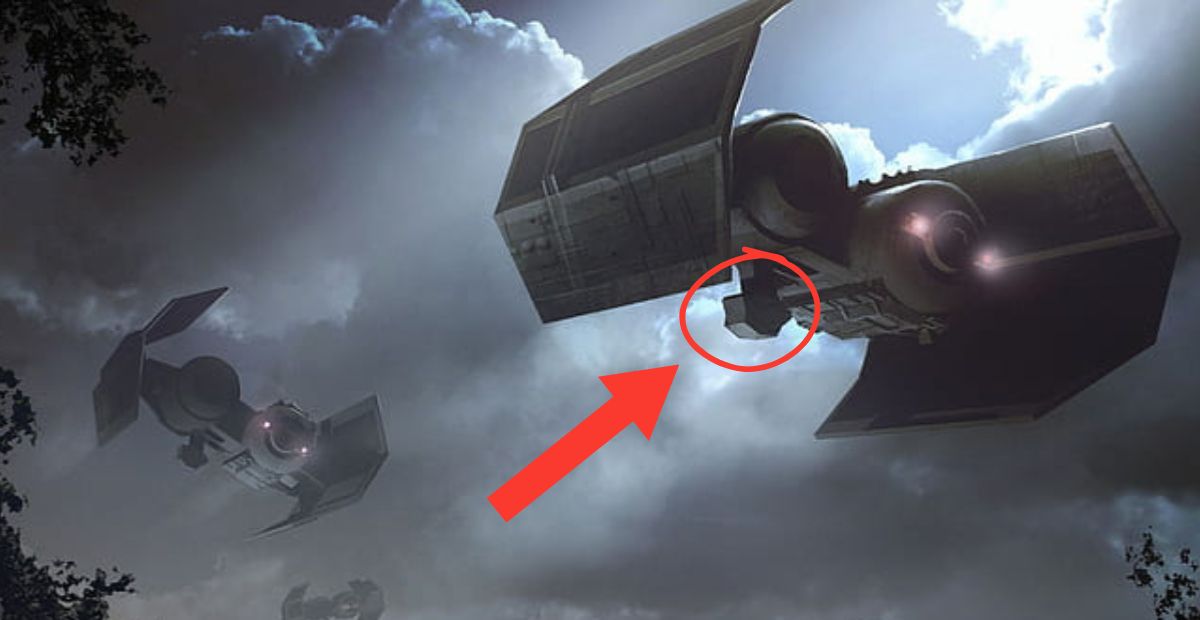
The TIE Bomber, officially known as the TIE/sa Bomber, is one of the Empire’s most versatile ships. But if you take a closer look at the TIE Bomber, specifically beneath its second hull, you’ll notice a tube-like structure.
At first glance, it might seem like a design choice to make the ship look cooler, but that’s far from the case. This seemingly small feature plays a crucial role in the TIE Bomber’s functionality.
The Targeting Sensors and Bomb-Drop Chute
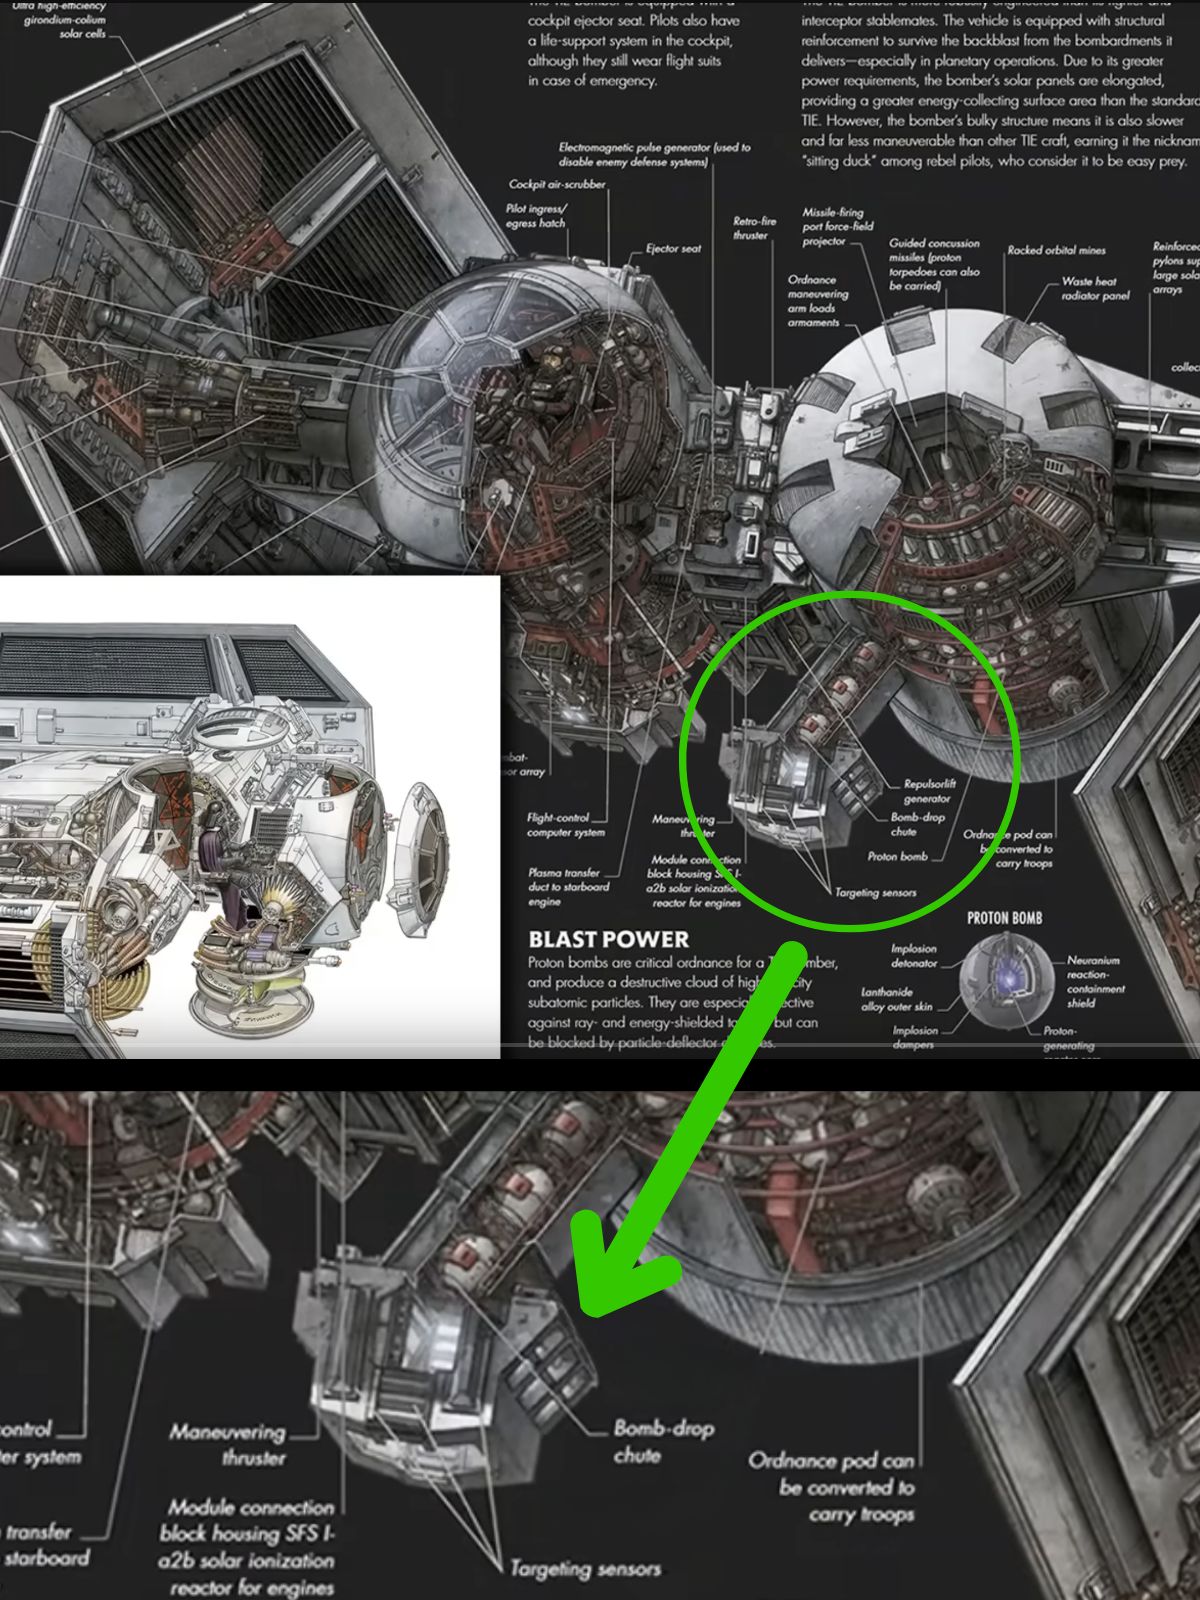
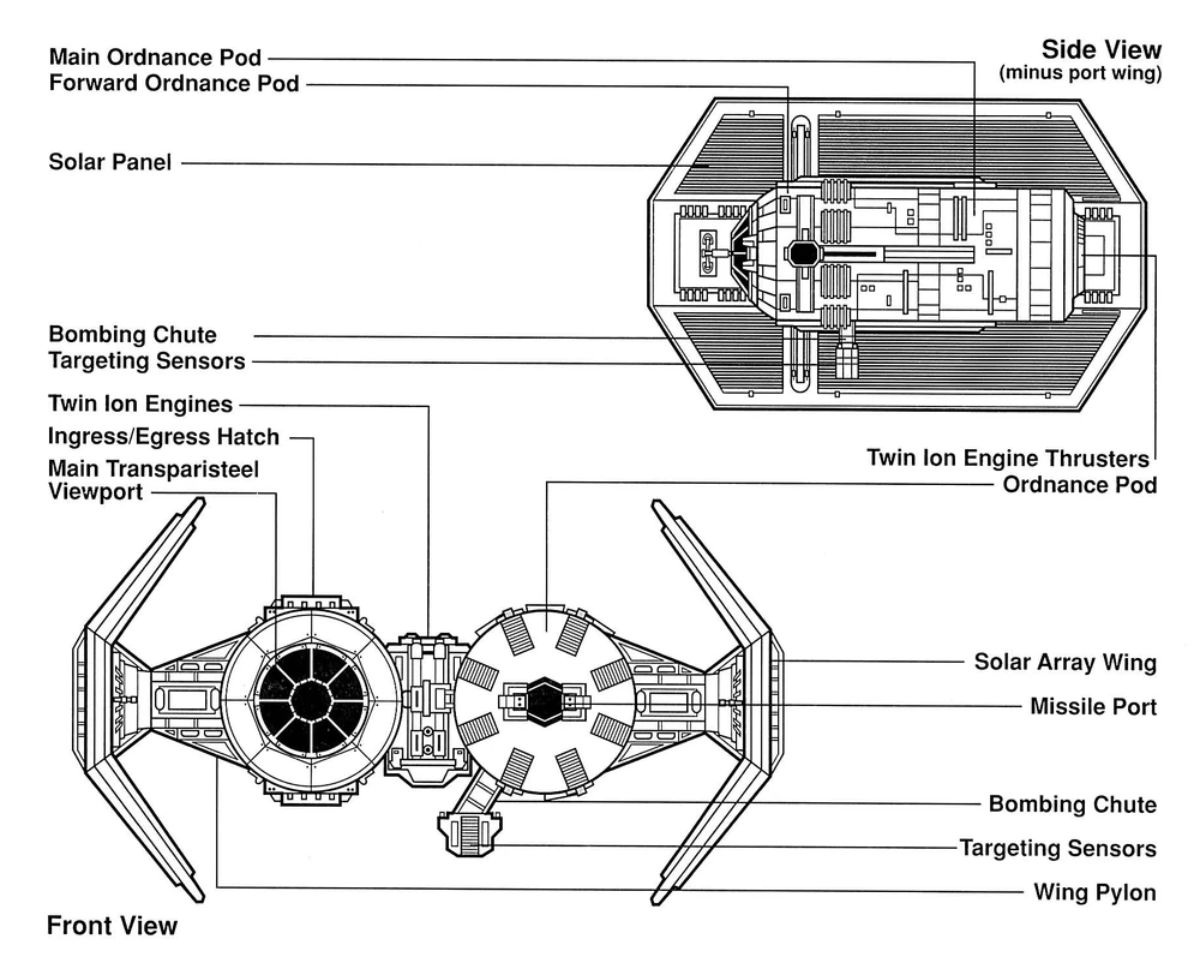
Basically the “tube-like structure” under the TIE bomber hull has two parts, one is the targeting sensor and the other is bomb-drop chute.
As we can look into the TIE/SA bomber cutaway, the image gives us a clear view of the targeting sensors and the bomb-drop chute.

Targeting Sensors: Located within the forward section of the tube, the targeting sensors provide precise guidance for the bomber’s payload delivery. These advanced sensors ensure accurate targeting, even in the chaotic conditions of space battles or planetary bombardments. By continuously relaying data to the pilot, they make sure that bombs, torpedoes, or other munitions hit their intended targets with pinpoint precision.
Bomb-Drop Chute: The rear section of the tube functions as the bomb-drop chute, the delivery system for the TIE Bomber’s payload. This chute allows the bomber to deploy various types of ordnance, including proton bombs, orbital mines, concussion missiles, and thermal detonators. The design ensures a smooth and efficient release, reducing the risk of malfunction and maximizing the bomber’s effectiveness during high-stakes missions.
And the TIE Bomber schematic clearly illustrates this as well.


