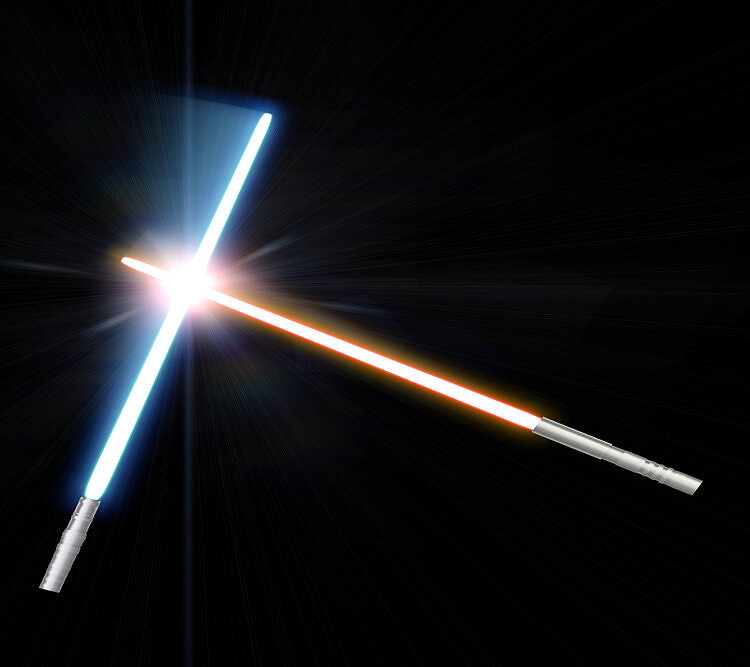
So you forked over your hard earned cash to get a “real life” lightsaber. You’ve turned it on, admired the glowing blade, maybe even twirled it around a few times… but now what?
Do you want to get into the world of lightsaber dueling, but you’re afraid that you won’t know what you’re doing? Nothing will be more impressive than a well-executed saber spin.
It looks cool, but how do you do it? And more importantly, how do you do it safely?
Read on to find some excellent resources on the best ways to spin a lightsaber properly and safely.
Table of Contents
Why spin a lightsaber?
So we know that a proper lightsaber spin looks super cool, but is there any practical reason to do it?
It doesn’t give an obvious advantage in a duel – you score by hitting your opponent with your blade, not by spinning it in front of them, right?
It turns out there is in fact real value in learning to twirl a lightsaber. According to UltraSabers, there are two main advantages that spins give to a learner.
First, to improve your own dexterity. Anyone who learns to spin a lightsaber effectively will by extension learn to better control their weapon in general.
Second, to intimidate your opponent. One of the most important tactics in a duel is to get inside the head of your adversary – a dazzling twirl can leave them startled, or even intimidated.
Learning the basic spin

Before moving on to anything more advanced, you should start by learning the basic lightsaber spin. As you can see in the video above, the basic steps are:
- Hold the lightsaber loosely at your side, pointing the tip up.
- Turn your wrist away from your body to twirl the blade down. You want to make an arc that sweeps past your leg.
- Once the blade is pointing straight down, open your hand so only your thumb and pointer finger grip the hilt.
- Keeping the hilt between your thumb and pointer finger, let the saber rotate around until it makes a full 360-degree turn.
- When the blade comes back to the starting position, grip it again like in the first step.
And that’s it! When you’re starting to learn how to spin your saber, it’s a good idea to practice on top of a soft surface, such as a carpet or rug.
Be sure to practice this move several times until you feel comfortable making the basic spin quickly.
Once you feel like you’ve mastered it, you can move on to the more advanced moves.
Three types of advanced spins

For three more advanced moves, we’ll look to professional stuntwoman and master staff spinner Michelle Smith.
As you can see in the video above, she calls these moves the figure 8 (also known as the 360-turn), the Hi-low whip (also known as the ObiAni) and the windmill spin.
Forward/reverse figure 8 (or 360-turn)

This move is like a more advanced version of the basic spin from earlier, based on a classic staff spinning move she calls the “Basic Flow”, demonstrated in the video above.
Instead of stopping the spin when it reaches the front, you’ll want to continue the spin to make a full figure 8 on the opposite side of your body.
You’ll want to keep the blade’s arc close so it passes right by your shoulders, down to right by your toes, then up to your opposite shoulder. This keeps the movement flat and is easier on your wrist than if you’re spinning it all over the side.
To perform the reverse figure 8, you’ll just drop the saber down towards your back instead of letting it fall forward. With practice, you can even connect the two figure 8s to each other, resulting in a spin with a very wide radius.
High-Low whip (or Obi Ani)
Named after the spins of Obi-Wan Kenobi and Anakin Skywalker, the Obi Ani spins the saber in front and behind the body in quick succession.
This creates a dazzling effect that’s perfect for going into a strike, or even redirecting your weapon to another target.
![LIGHTSABER TUTORIAL - High/Low Whip + Head Catch [TRY THIS!] | Michelle C. Smith](https://may4bewithyou.com/wp-content/plugins/wp-youtube-lyte/lyteCache.php?origThumbUrl=https%3A%2F%2Fi.ytimg.com%2Fvi%2FWgl2wym96k0%2F0.jpg)
Before attempting this move, you’ll want to make sure you’ve mastered the basic forward figure 8 shown above.
You’ll also want to practice what’s known as a “wrist roll”, which is essentially just the back half of the figure 8 move.
Once you feel confident with those movements, you’ll be able to combine them to create the High-Low whip. The move itself has both a top and bottom half, which is where the “High” and “Low” whips get their name.
The top half (or “High Whip”) starts by running through a forward figure 8 until the saber is pointing straight up. Then you’ll add the wrist roll, spinning the saber behind your head and pushing back out to begin the move again.
The bottom half (or “Low Whip”) is similar, but instead, you’ll drop the figure 8 behind your back until the blade is pointing towards the off-hand. Then comes the real tricky part of the move.
Continuing to rotate the saber the whole time, you’ll drag your knuckles along your waist to the front. When you can’t twist it anymore, you’ll straighten your arm and rotate the saber the rest of the way.
Check out the video above for more detailed instructions. And as a bonus, the video also includes how to move into a strike at the end of the move, as well as a bonus “head catch” you can add to finish it off.
Windmill spin
This move is deceptively simple for how beautiful and dynamic it is. Like the Obi Ani, it is also based on the basic flow or forward figure 8, so make sure you’ve mastered that move before attempting this one.
Starting by pointing the saber straight out from your main hand, swoop the saber in front of your body. Sweep it in a full circle until it’s back in the starting position.
Keeping the saber’s momentum from the swoop, you’ll start to move your saber arm behind your body. When it’s almost pointing straight down, you’ll move your body 90 degrees to face the original direction your saber was pointing.
Then, keeping your shoulders and hips stationary, you’ll continue the swoop behind your body. Sweep it in a half circle until it’s pointing in the opposite direction from the starting position.
Then you’ll perform a reversed wrist roll, or the back half of the reverse figure 8 move. This will tip the saber up towards the back of your head, and then back to the other side.
To finish the move, you’ll just bring the saber up in an arc over your head, and back to the starting position.
With practice, you’ll be able to perform this move quickly and fluidly. It’s very impressive to witness, even though the individual steps are all very simple.
Conclusion
There’s a lot of advice and tutorials out there to help you spin your lightsaber properly and safely. But it doesn’t matter how many videos you watch or how many articles you read, there’s no replacement for practice.
Be sure to practice these moves in a safe place until you’re confident you’ve mastered. Then and only then should you attempt them out in the world.
The good news is, now that you’ve read this article, you know exactly what to practice. So get practicing, and may the force be with you!